Your lawn is repairable – trust me.
When I moved into my new home, the lawn had been left, for what seemed like years. Pure, spongy moss. Bare patches everywhere.
I thought it wasn’t revivable. I know now, that it probably was.
I’m also pretty sure yours is easily repairable.
Meaning you don’t need to start from scratch. As long as you’re happy with the foundation of where the lawn is, you can revive it.
So, in this post I’m sharing the exact steps on how to do it.
It’s pretty easy too, so keep reading.

The big problem with lawns (+ my story)
I love caring for my lawn and work (fairly) hard every year to keep it looking lush. However, when lawns are left untouched for a considerable amount of time, they can go bad. Really bad.
Even if you do care for it regularly, mistakes can still be made.
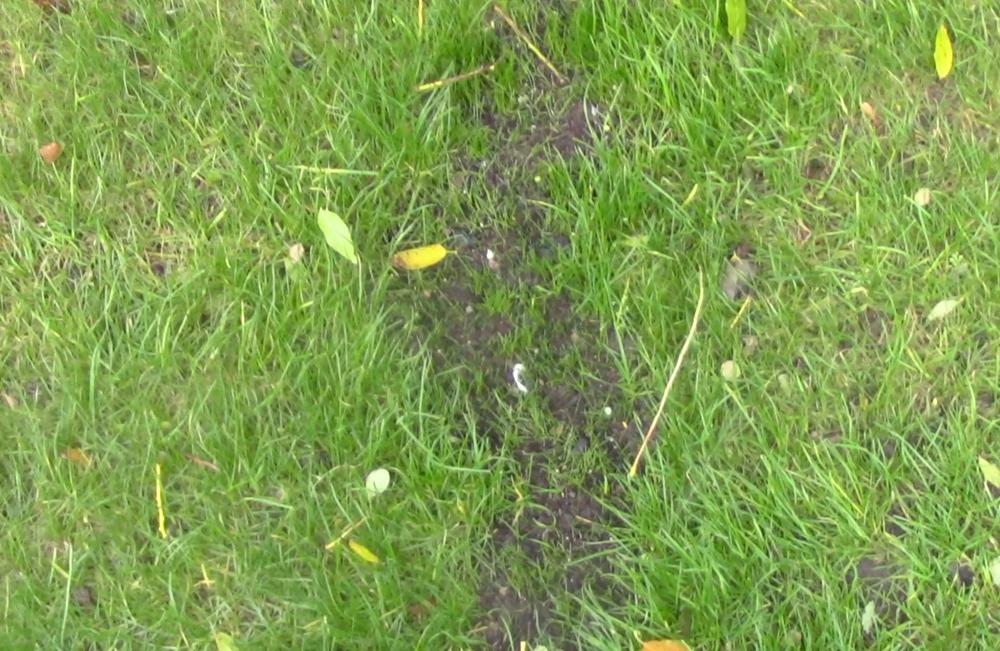
Take this.
It happened when I was applying lawn sand containing nitrogen and iron sulphate to combat moss. Little did I know there was a heatwave right around the corner.
Not just that, I also made a mistake with my drop spreader.
Basically, I put too much sand down in one spot and over the next few days/weeks, the grass went yellow and pretty much died on me.
Morale of the story?
Whether you care for your lawn or not, patches can occur and repairing them is often the best choice.
So how do you go about it.
Step-by-Step – How to repair bare patches in your lawn
Repairing patches is pretty simple. You just need the right conditions, the best gardening products and a little bit of patience.
1. Repairing with seed
Here are the steps I use when fixing brown patches using seed
- Rake out as much brown grass as possible
- Apply a light layer of lawn dressing
- Apply the current season’s lawn feed usually Spring Feed or Autumn Feed
- Apply grass seed at a rate of 25g per m2
- Apply a slightly thicker layer of lawn dressing
- Step over the patch with your feet so you can press the soil down into the seed.
- Keep watered until the seed is germinated
Some people will recommend digging out the patch with a half moon tool. To be honest I think that’s a little overkill.
The only time I would recommend digging out some of the soil is if you think the composition needs improving. For example, if you think you need to improve a clay-based soil with a loam or sandy mixture.
1. Repairing with turf
Personally, I would never repair with turf. Seed is the best in my humble opinion. However, if you want instant results, then doing it with turf could be the best option for you.
Just remember that even if you do use turf, and the patch is immediately repaired, you’ll still see the difference between the old and new. The difference will show for about the same amount of time it takes seed to germinate. So maybe you can ask yourself – what’s the difference?
Either way, if you do want to use pre-germinated turf, here are the steps.
- Measure how much turf you need. Turf normally comes in rolls of approx 0.6m x 1.6m (1m2)
- Dig round the outside of the patch that needs repairing using a half moon tool. I don’t recommend using a spade because it won’t give you a straight edge.
- Lift the old grass and put it upside down on the compost heap
- Apply a pre-turf (starter) fertiliser at a rate of 30g per m2
- Put some fresh lawn dressing over the pre seed fertiliser
- Cut the turf to size if necessary
- Lay the turf in the space you’ve created by removing the old sward
One more thing on turf.
Never do the above steps during a drought.
The turf won’t take to the old soil bed and it’ll just go brown. Leaving you with a new patch to fix or.
If you’re concerned there’ll be a lack of rain use seed instead. Or you’ll find yourself needing to use the hosepipe every day.
How to sort out lawn edges or corners
One of the hardest parts of a neat looking lawn is keeping the edges thick, lush and green.
Why are the edges so hard to care for?
Mainly because they get much less water, the soil bed is thinner or they are in the shade and don’t get any light much of the year.
I’ll be honest.
I’m always tempted to just cut the edge off and make the lawn slightly smaller. That doesn’t solve the root cause of the problem though.
Why? Because the same thing will just happen again to the new edge that’s been created.
So, what’s the best way to make sure the edges are looking their best right throughout the growing season?
Let’s start with the corners.
Corners can be a challenge too. Especially if they are at 90 degrees. They lawn mower goes to low on them or the turf gets kicked up.
That’s why you’ll see a lot of lawn designs are rounded on the corners. I always try, where possible to do rounded corners on mine and can assure you it makes it easier to keep neat.
So, with that in mind, how do you repair damaged lawn edges?
Here are the steps.
- Make sure the soil bed is much lower than the edge of the grass. This gives you a proper edge and makes trimming the eddges easier too.
- Use a half moon tool to cut in from the edge to the main part of the grass
- Cut across from the end of the first cut
- The make a third cut from the edge of the second cut back to the edge of the lawn.
- Remove the cut piece of sward
- Sprinkle some compost or lawn dressing into the section you’ve cut out
Fixing ditches and uneven sections
Sometimes soil can fall in and create a ditch or some uneven sections across your garden. If this happens with the grass it can be a bit of a pain. It can make mowing more difficult, especially after overseeding.
So, it’s definitely a good idea to try to level out any hollows or bumps.
This can be done either prior to or during the repair process. For small hollows, you can use a bit more lawn dressing during the repair process to bring the soil up slightly.